
Adding Binding to a Quilt with Curved Corners
Adding the binding was the part that was intimidating for me. I was terrified I was going to have to make bias binding and it would be a stretchy mess.
I decided to be brave and just use my normal 2.5″ wide binding cut width of fabric. I sewed the binding together as I normally would and then started binding as I normally would.
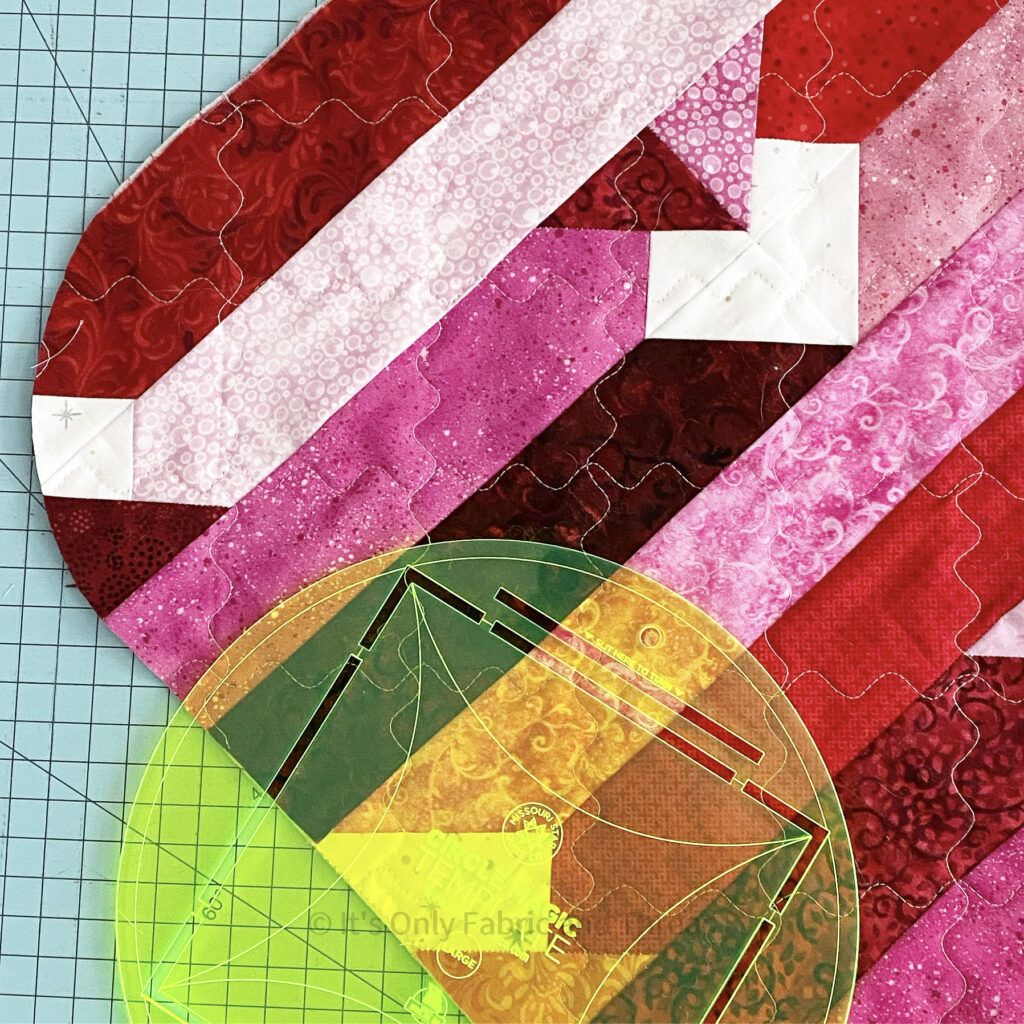
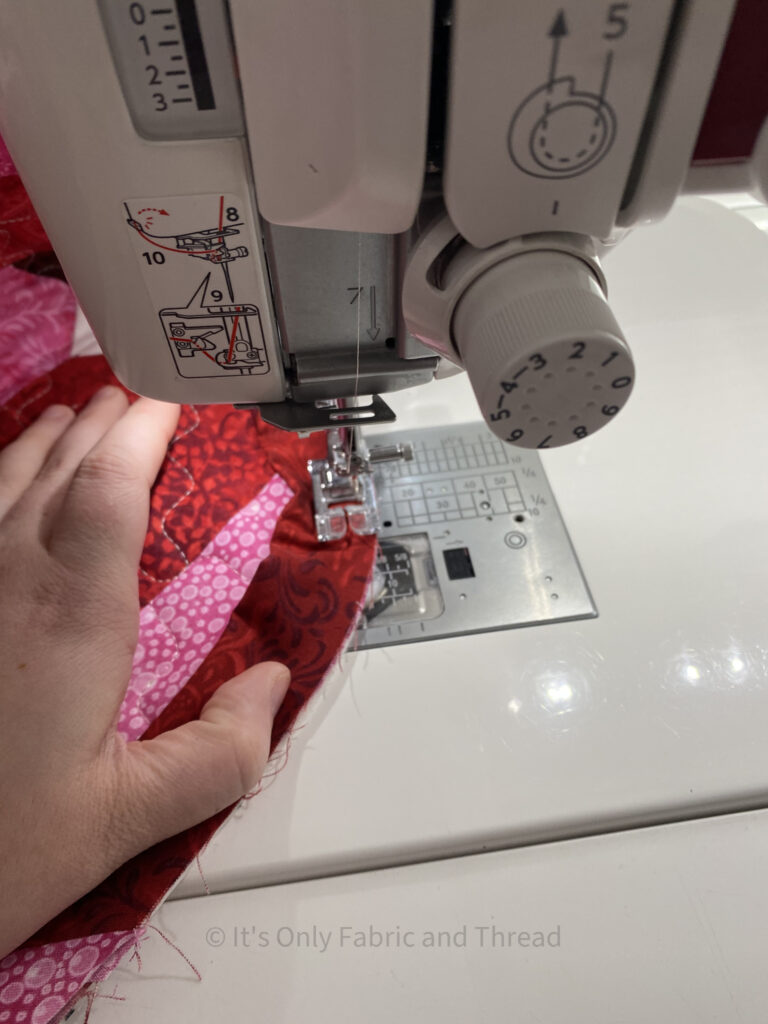
When I got close to the corner, about 6″ – 8″ from the start of the curve, I slowed way down to prepare for attaching the binding at the curve.
I probably should have used clips or pins, but I decided to just wing it and slowly curve the binding as I very SLOWLY stitched. I strongly recommend if you’ve never sewn curves that you use pins. This really helps the fabric not shift.
(This is just one of those do as I say not as I do moments LOL)

Finishing Binding on a Curved Corner Quilt
I originally planned to hand quilt the binding to the back of my quilt. However I didn’t have enough time to get it finished by the time I needed it done, so I decide to do it on the sewing machine.
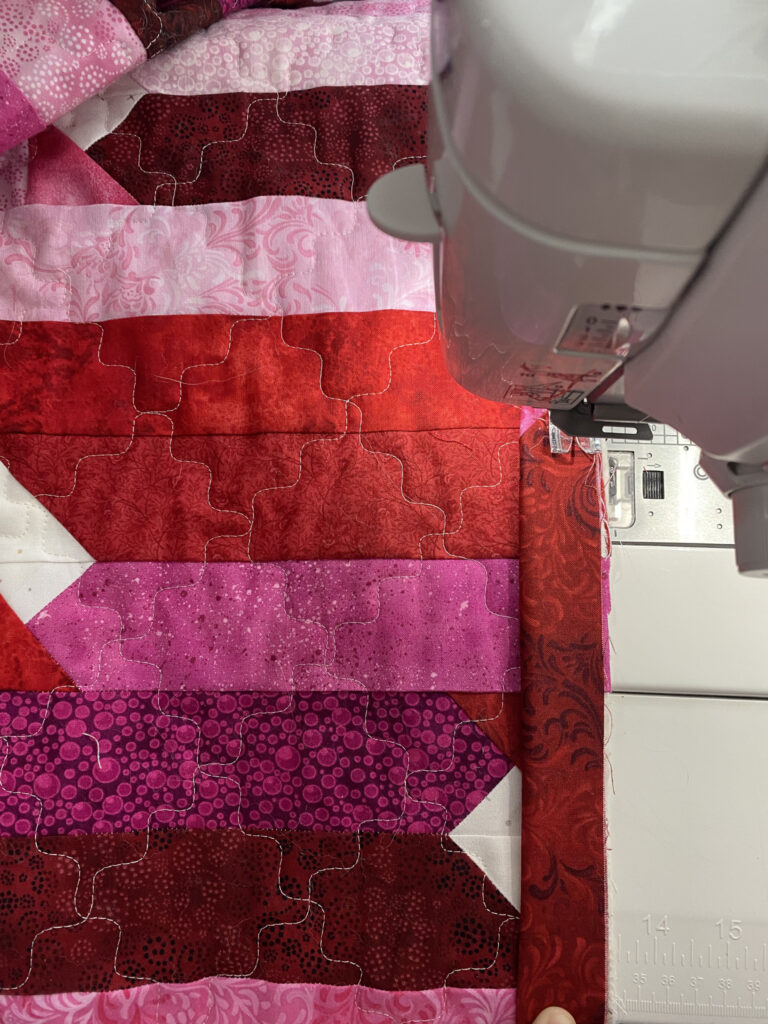
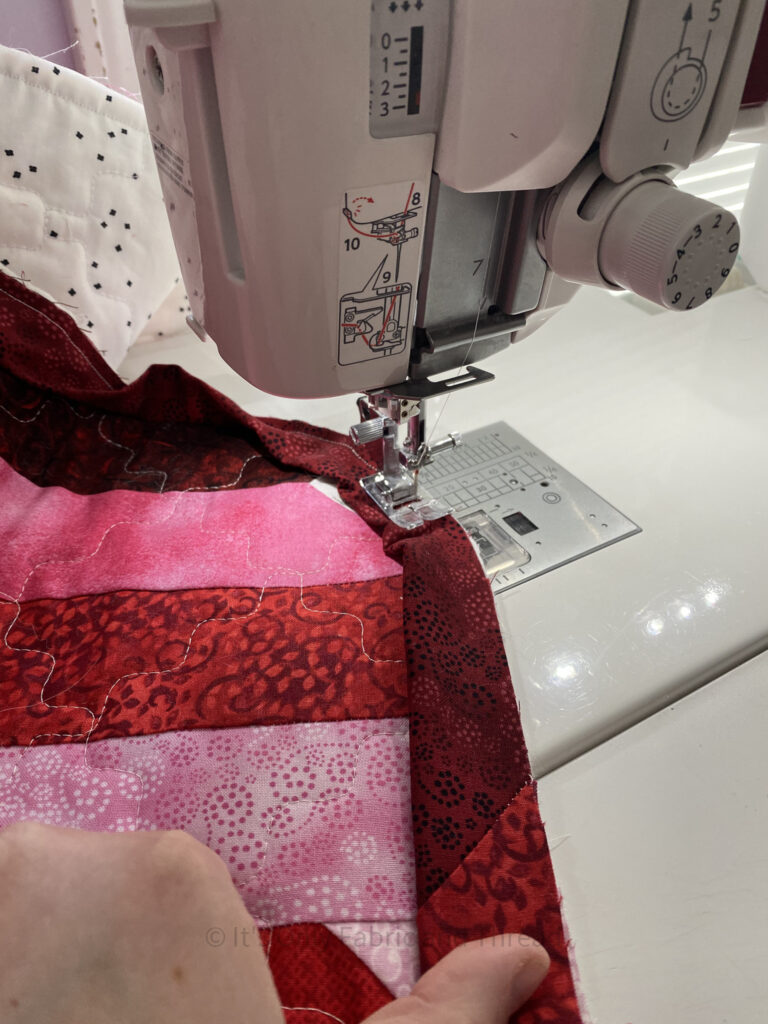
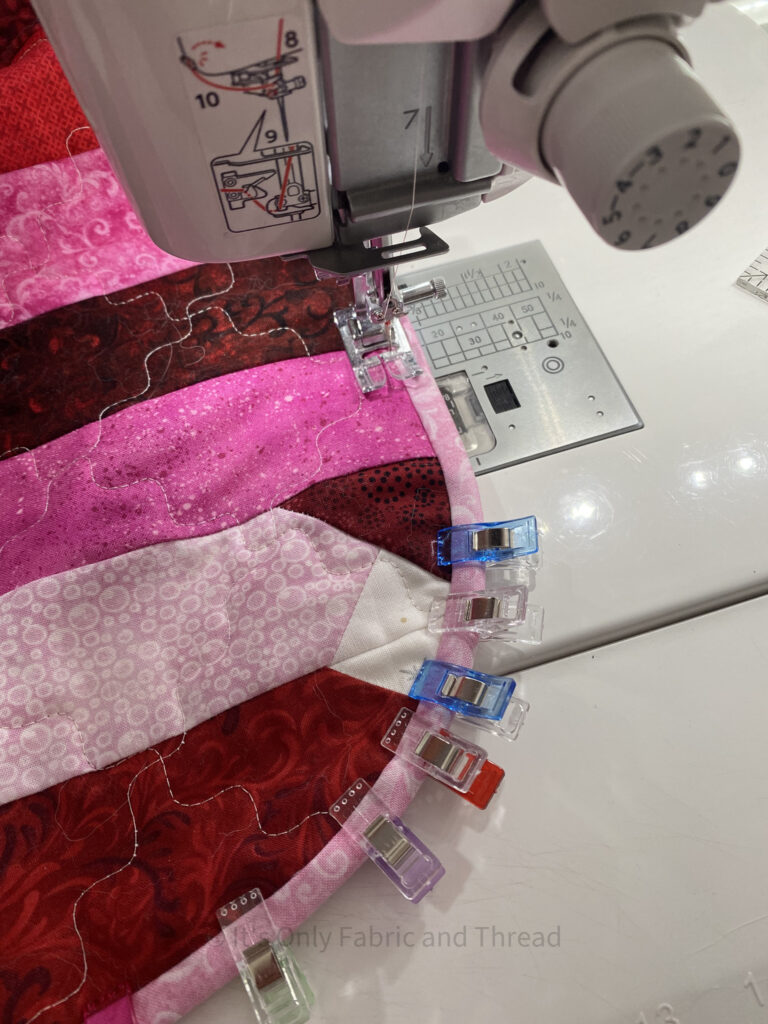
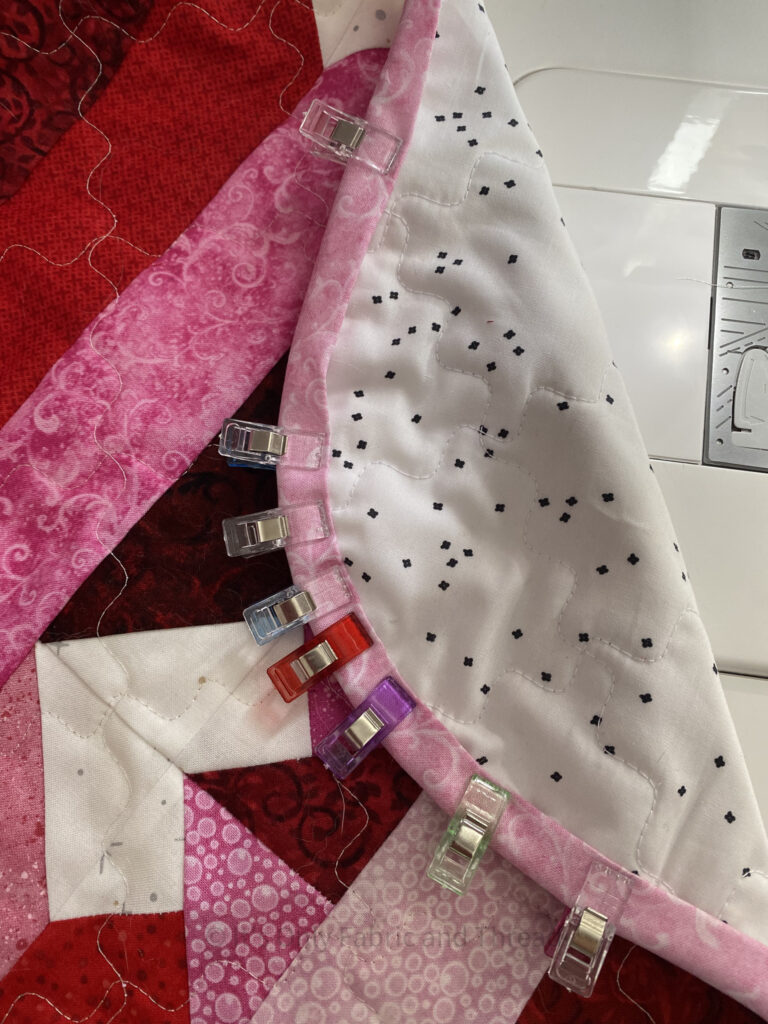
I began in the middle of one of the sides (as I always do when machine binding) and then about 12″ away from the curve I stopped and added a ton of clips to hold the binding around the curved corner in place.
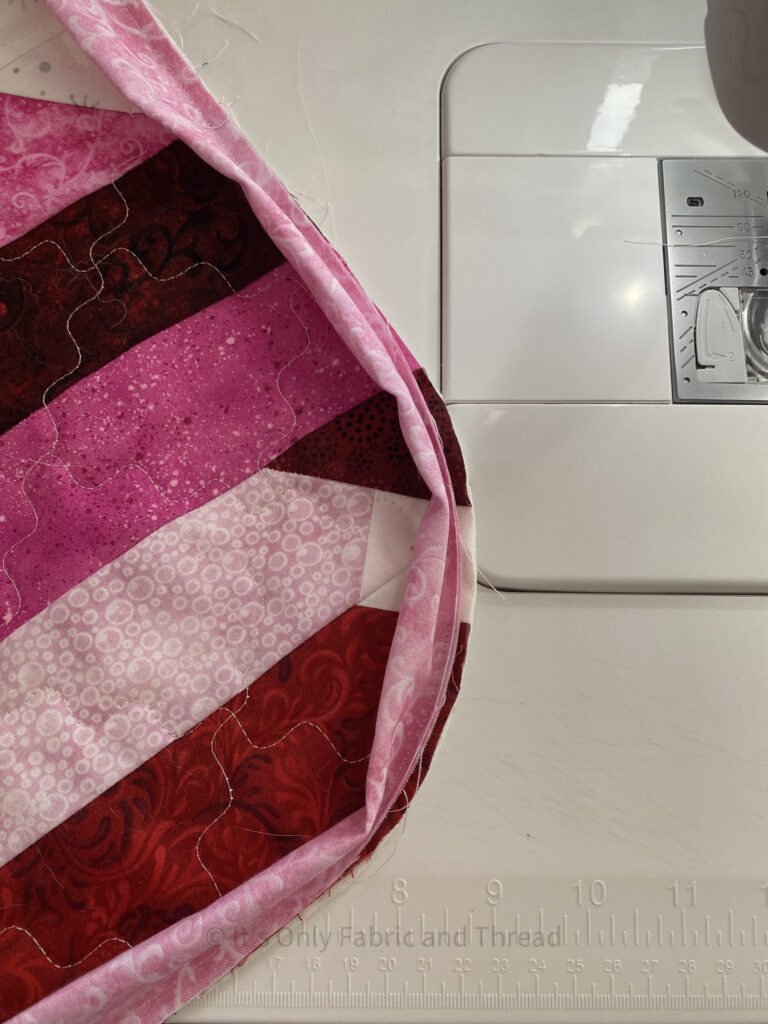
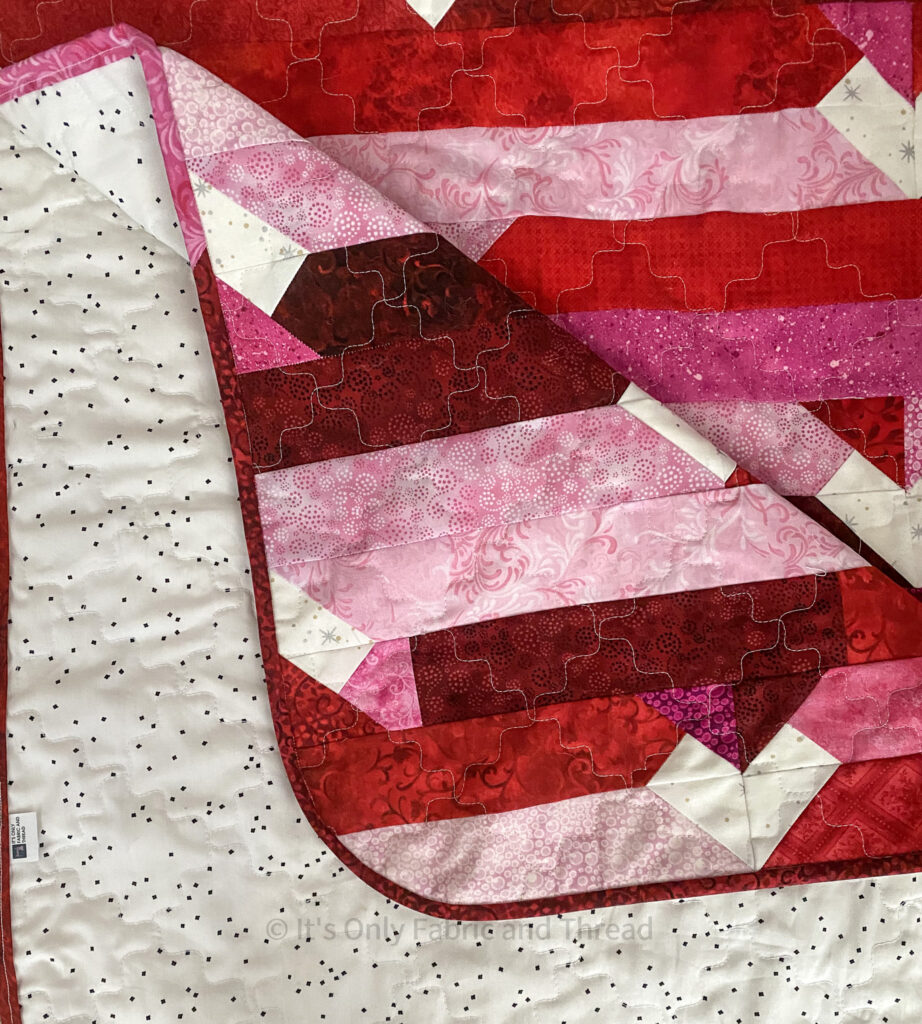
You can see that I used a lot of clips to prevent shifting. The first picture is what it looked like from the front of the quilt. The second shows how it looked on the back.
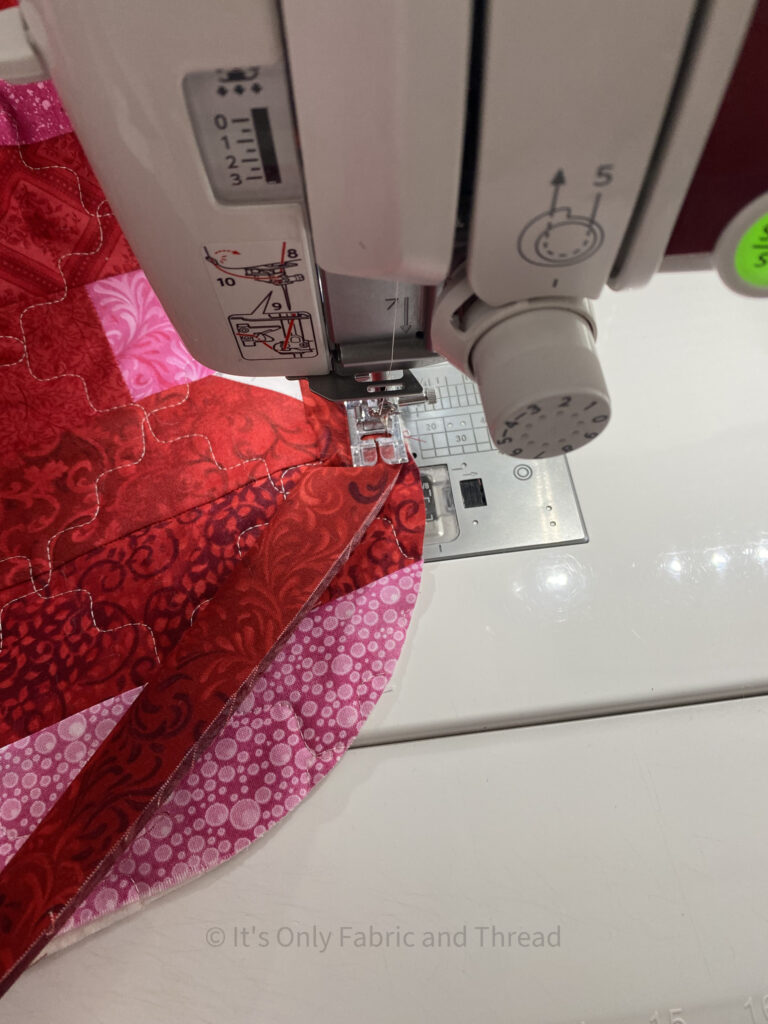
I very slowly continued to stitch the ditch on the corner and to my surprise it didn’t turn out half bad!
My corners don’t lay 100% flat, but if a quilt is being used, its going to be all crumpled and providing warmth. No one should care about the corners not being flat.
Are Rounded Corners on Quilts Easy?
Having never sewn curves or worked with a rounded edge in my sewing and quilting, I thought adding rounded corners was very easy.
Will I be doing it again anytime soon? Probably not. I think I prefer a good old fashioned 90 degree mitered corner on my binding and quilts.
It was very fun to try and I may do it on another quilt one day, but I do think a confident beginner could easily add rounded corners to their quilt if they wanted to!