Hi Quilty friends! This week we have a special guest blog post from Kaitlyn of Fritsch in Stitches. She and I initially connected over on Instagram and I hope you enjoy her insights, tips and tricks this week! Be sure to check out her free pattern linked at the end of the blog as well 
___________________
There’s one thing all quilters have in common: scraps. Regardless of your quilting style or aesthetic, how organized you are, or if you have one WIP or fifty, you’re going to end up with scraps. You might be great about sorting them and using them in future projects (if so, please share your secrets). Maybe you’re someone who squirrels them away in a bin because you can “use them in another project” but they never quite make their way into your future fabric pulls (Hi, that’s me, Kaitlyn of Fritsch in Stitches).

It seems simple, right? If you can make a bonus quilt from your scraps, you’re getting twice the quilt for the same amount of effort. But leader/enders are going to help you sew better and more efficiently too. Here’s how:
They keep your thread and project stable
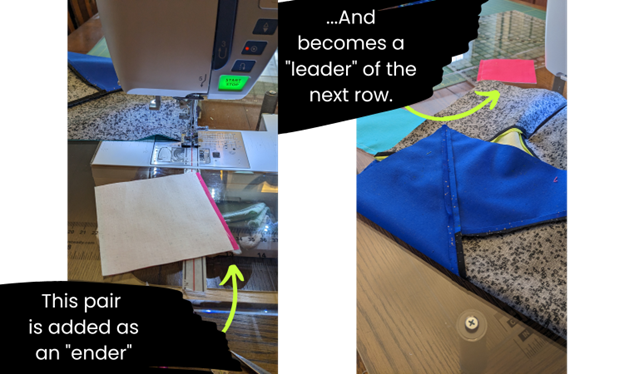
You know when you start stitching and the needle comes unthreaded because the thread got cut a little short? No more! That thread is solidly held by the stitches in your leader/ender.
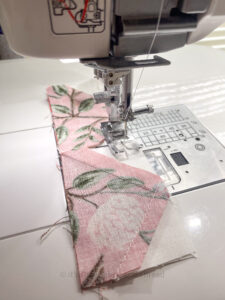
Even worse, anyone who uses a standard stitch plate has probably experienced the dreaded pull-down of the first few stitches.

A good first place to start when this happens is to change your needle – a dull needle is more likely to push the fabric into the plate. However if you find it happens a lot, it could just be that the raw edge needs some extra stability. Adding a leader to your first “good” piece means that if the fabric gets drawn down you’re scrapping a spare piece, not your actual project, and once you’ve started, using an ender rather than cutting the thread each time will keep your thread secure and your starting edges safe!
Prevent Thread Waste
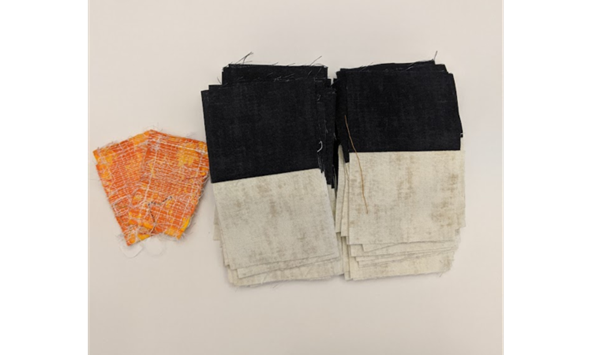
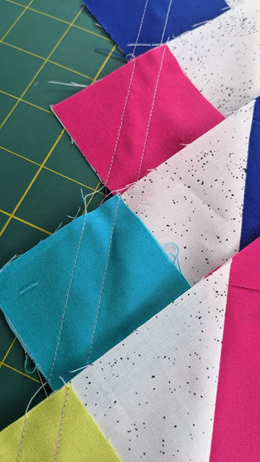
Gone are the days of 3 inch thread tails! Because the thread is secured in your leader/ender, that tail is now a perfectly usable seam. And with the price of good thread (or even the cheap stuff these days) you want as many inches as possible to be used, not crumpled up in the trash. It’s hard to believe, but there are more inches of thread in those two orange spiders on the left than in the entire stack of 2 ½” pairs on the right!
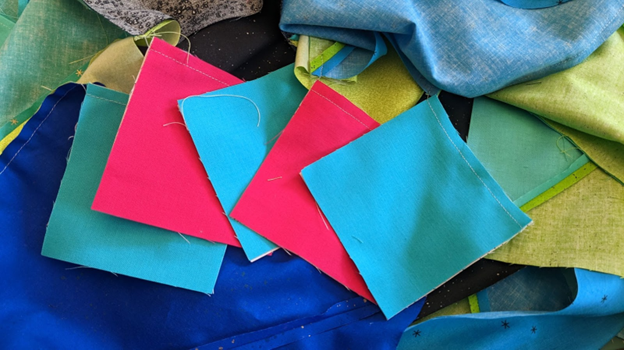
Use Your Scraps
I’ll be the first to admit that I’m not a scrappy quilt person. One of the big reasons I started quilting was that I loved buying fabric, and scraps were just an unfortunate byproduct. But once you make more than a few quilts, the scraps start to take over. And most of those fabrics are things you bought because you loved them! Leader-enders let you mix and match those fabrics you love that maybe you don’t have enough of for a regular pattern, and turn them into quilts that can be shared and loved. All you need is a great scrappy pattern, which Katherine has on lock.
Your whole pattern doesn’t have to be leader/ender friendly. You can opt to finish a single step as leader/enders and then complete the rest of the project as normal. Use leader/ender sewing to get those simpler tasks done so that you can focus on more complex steps.
- If thread matching is important to you, consider using a neutral thread for all of your projects or have 2 different leader/ender projects on the go: one for light thread and one for dark thread.
- When you’ve finished a pile of snowball corners, take a few minutes and add a second seam ½” closer to the corner from your first. Now when you trim off the corner, you get a bonus HST, which is easier to incorporate into a scrappy project than two loose triangles.
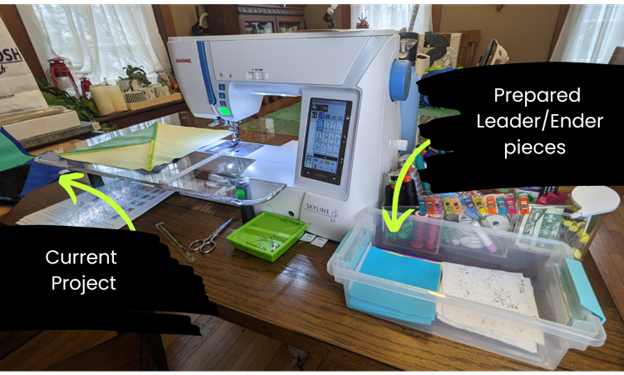
- If there’s a specific size of leader/ender you like, stick with it. One of Katherine’s best tips for scrap management is to sort scraps immediately after you finish a project (see all her great tips here), but I take it a step further. If I know that the scraps are most likely to be used as leader/enders, I cut them up and move them to the project box right away. It minimizes the amount of time I have to handle and think about the scraps, which is key to getting more done.
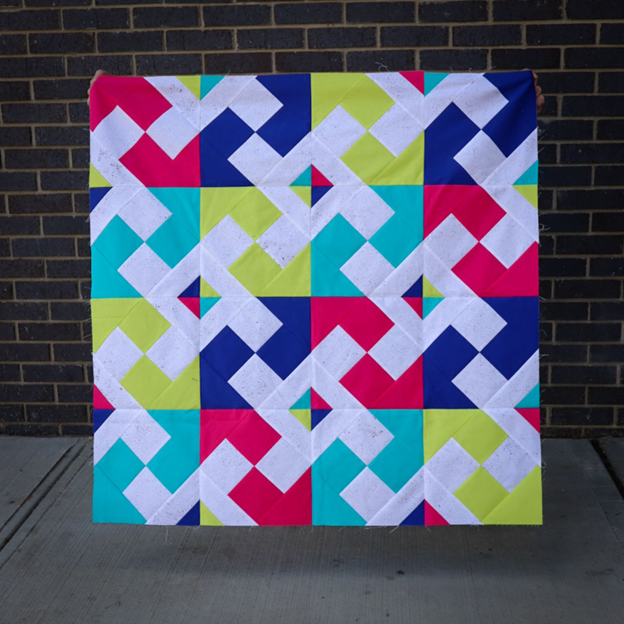
Once you’ve made up all those leader/enders, it’s time to assemble them into blocks. For the Take a Twirl pattern in Fun With Scraps, I made the four patches as leader/enders, then completed the next few steps before adding the Quick Corner Triangles as leader/enders. Because I had done some of the work as leader/enders, the project came together quickly, and I now have a great baby-sized quilt in my back pocket for a last-minute gift or donation.
With your first leader/ender project under your belt, the possibilities are endless! You’ll see how you can harness those few extra stitches to make bonus quilts, and your scrap bins will be more manageable.
If you’re looking for patterns to get started, Katherine has a great selection. Most of her free patterns are leader/ender friendly, and of the 16 patterns in Fun with Scraps, 13 have one or more steps that could easily be completed as leader/enders. My free Phosphene pattern is also leader/ender friendly. If you need more inspiration #LeaderEnder and #LeaderEnderQuilt both have gorgeous quilts that people have made using leader/enders, and I’d love to see yours there too!
Happy sewing!

___________________
Well… are you totally convinced to give Leaders and Enders a try?! Share your thoughts in the comments below! And if you want to make your own Take A Twirl quilt or need inspiration for your next scrappy leader/ender project you can grab your copy of Fun With Scraps now!
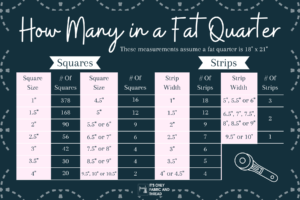
How Many Squares Can You Cut From A Fat Quarter?
Find yourself googling “how many squares in a fat quarter” or how to sub-cut a fat quarter? Here are two tables to help you and a free printable cheat sheet!
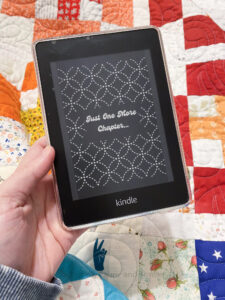
Quilty Custom Kindle Lockscreen
Do you like to take your hobbies and combine them? Me too! I figured out how to make my kindle lockscreen quilty and I’m sharing how you can too!
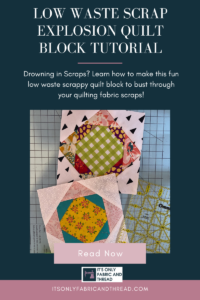
Scrap Explosion Free Quilt Block Tutorial & Scrappy Quilt Pattern
Drowning in your scraps? Say hello to the low-waste scrap explosion block! It is a free scrappy block pattern that is a great leaders and enders block! It also makes a great scrappy block for when you want to sew a few blocks in between a bigger project.
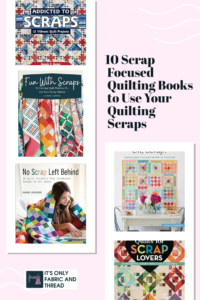
10 Scrap Focused Quilting Books to Use Your Quilting Scraps
If you are looking for some books to help you create using your scrap collection, here are 10 quilting books to help you use your scraps!

How to Use Your Scraps with Leaders and Enders with Fritsch in Stitches
Your scraps are the secret to something most quilters want: more finished quilts. By taking a little time to sort and prepare them, you can make small progress between your big projects by using them as leader/enders. Learn how in this weeks’ guest blog from Kaitlyn of Fritsch in Stitches!
Chain Piecing for Scrappy Quilts
Quilting should be fun and relaxing, but sometimes all the small pieces can become overwhelming and tedious. If you are looking for a way to speed up the piecing process of quilting, you need to learn how to chain piece! This blog will show you how it’s done and explain how this technique really helps with scrap quilts.