Last week I shared four ways to store your scrap fabrics. I personally use a combination of two of those strategies – sorting by color and trimming down to usable sizes. However, deciding to cut your fabric scraps down into usable sizes can be a daunting and intimidating task. Especially if you are just getting started and have a large of collection of fabric scraps to tackle! In this post, I break down my strategy for cutting my fabric scraps to help keep my scraps under control.
How do you cut fabric scraps?
With a rotary cutter, ruler, and a cutting mat… And by deciding the sizes that you want to cut your scraps into.
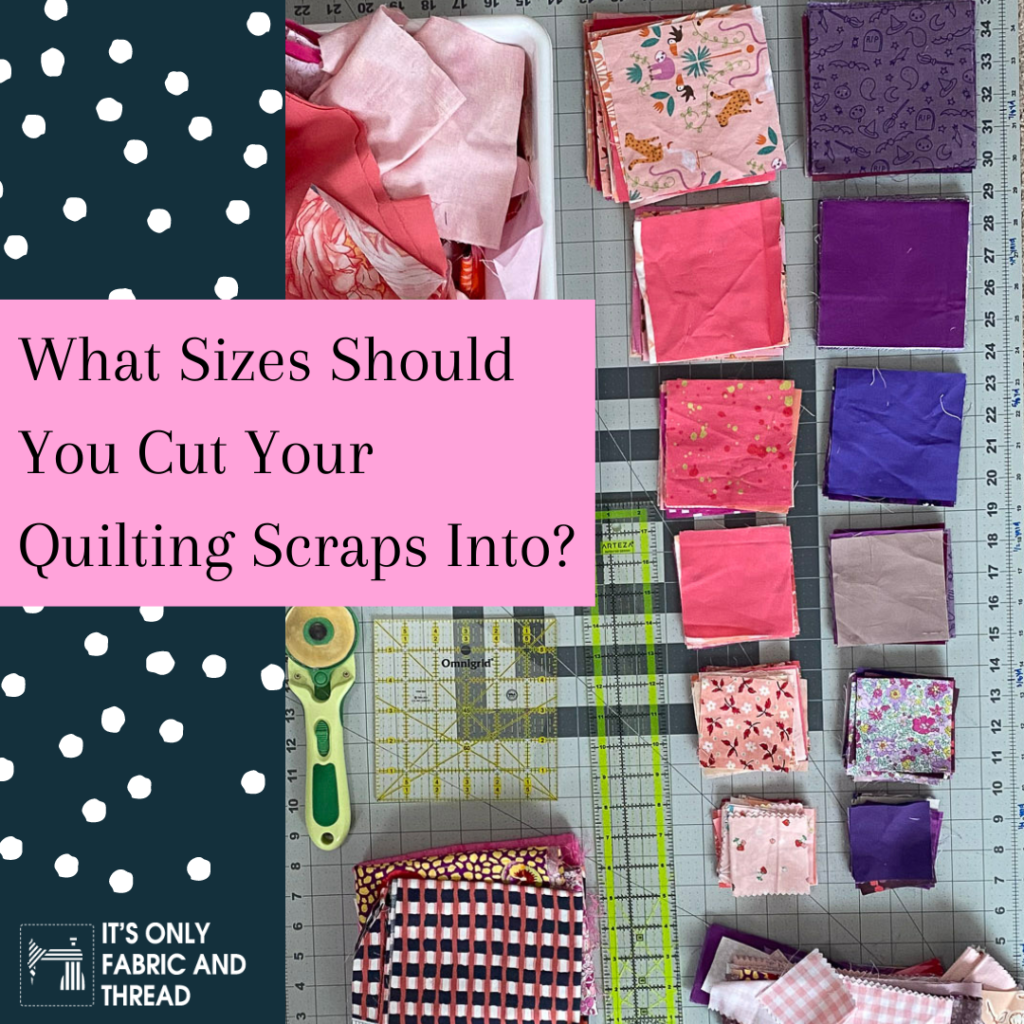
For me, I cut my scraps into the following sizes:
- 2 ½” strips
- 1 ½” strips
- 2 ½” squares
- 3 ½” squares
- 4 ½” squares
- 5” squares
- 10” squares for really big scraps
These sizes work for me, but when choosing what sizes to cut your scraps into, choose what works for you! If you are planning a string quilt, 1.5” strips might be the best use of your scraps. If you are thinking a postage stamp quilt sounds fun, cut your scraps into 2” squares. If you don’t have a specific quilt in mind, cut your scraps into a variety of sizes like I do until inspiration strikes!
What is the Best Scrap Cutting Strategy?
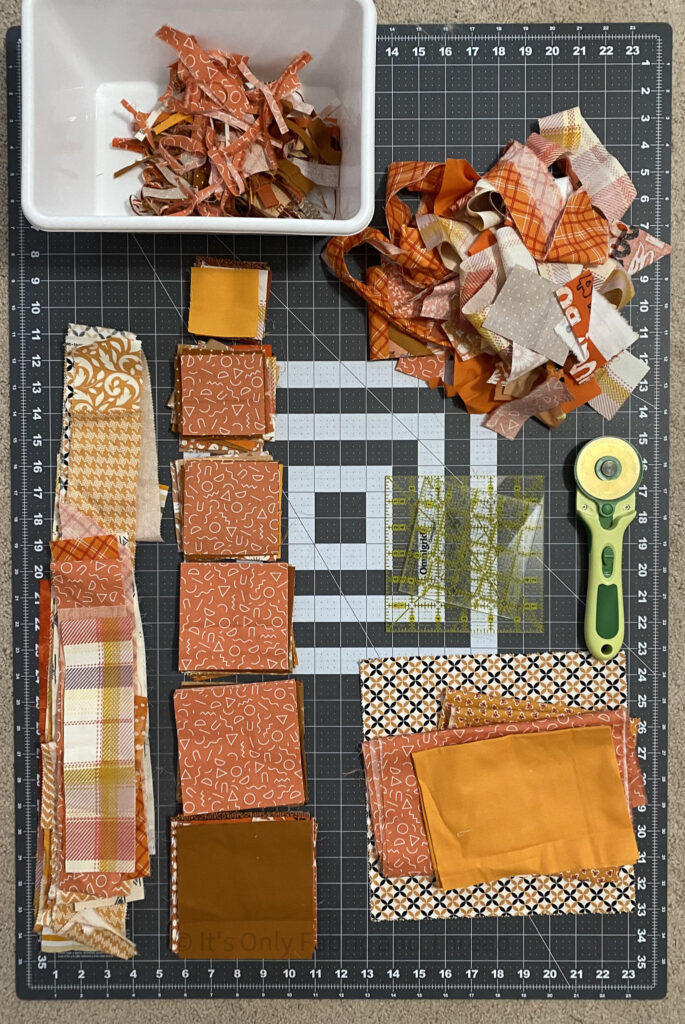
The best scrap cutting strategy is the one that works for you and is one that you can keep up with. For me, when I decide to tackle one of my colored bins this is how I usually work through the pile:
- Start with the biggest cut I can get from the piece of fabric. Typically, I try to see if I can get a 10″ square or a 2.5″x Width of Fabric (WOF) strip to start with.
- Keep making the next largest cut possible, until the piece of fabric is used up.
- Try to cut both strips and squares if possible. If I have a 5″ x 10″ (for example), I will cut one 2.5″ x 10″ strip, and cut the other half into 2.5″ squares.
- If I have almost a full Fat Quarter (FQ) or a WOF strip, I will almost always keep it as a WOF or close to a FQ. I rarely cut that down into squares.
- I keep my iron hot to quickly smooth out any wrinkles, but there are some days I don’t iron the scraps as I cut through them.
- Since I work on one color at a time, I typically just make stacks for each size and put everything away after I have worked my way though everything for that color.
How to Manage Really Small Scraps
Really small scraps, or crumbs, as some quilters call them, are the last few pieces that are too small to be cut into a square. For me, the smallest square I cut is 2.5″, so anything smaller than that I consider a crumb. However, recently I decided that I wasn’t going to trash those pieces. I decided I would keep them in a small ziplock bag and use them to make crumb fabric. This gives me extra scrappy fabric that I can use in a project in the future and not have nearly as much fabric waste.
Scrap Fabric Love has a great tutorial for making crumb blocks if this technique is new to you!
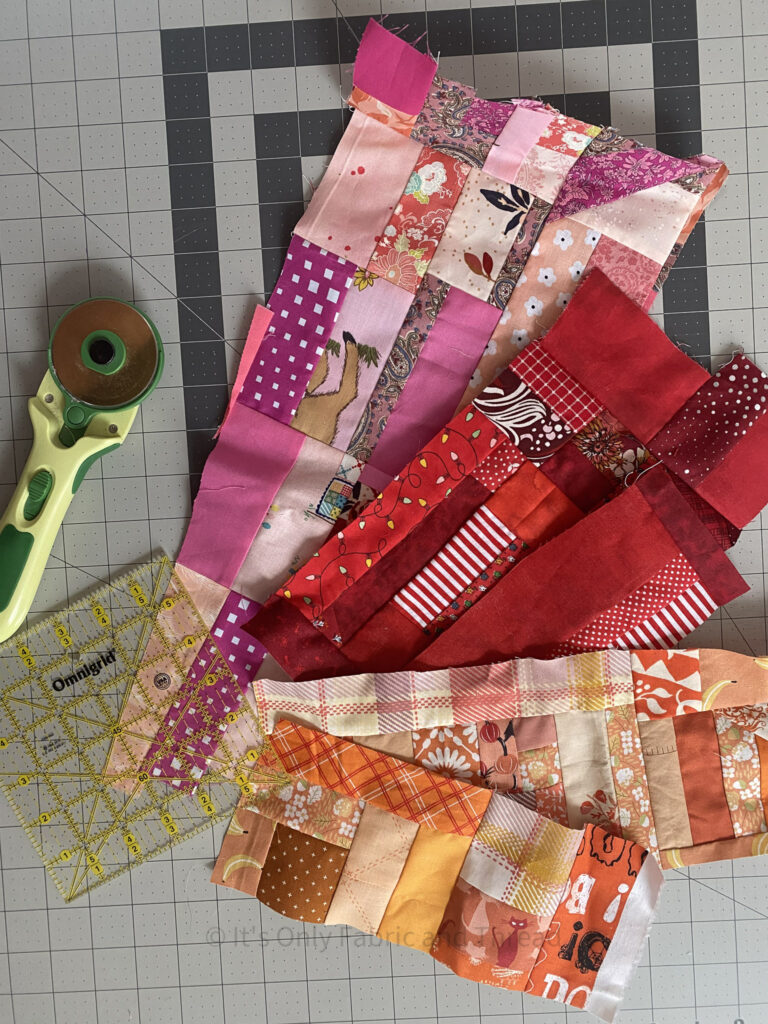
Hopefully this gives you an idea of how to get started cutting your fabric scraps and helps you feel more confident to just dive in! It can be scary and overwhelming, but even if you just cut a few scraps a day or a week, you will get through them in no time and will be ready to start a new scrappy project.
Have a technique for cutting scraps that works for you? I’d love to hear in the comments below 😊
I cut my scraps into upcoming quilts I want to make. Write now nothing goes in the scrap bin unless it has been cut down properly. The sizes I am using right now.are 2 1/2 squares which work for my 2 1/2 inch section. For the Next set I use 2 1/2 X 4 1/2. I cut 5×5, I cut 4×4 and 21/2 inch strips. I try to use it all
Pingback: Scrap Explosion Free Quilt Block Tutorial & Scrappy Quilt Pattern - It's Only Fabric And Thread