If you love to sew or quilt, let’s face it: Scraps Happen. It really is inevitable since every project you make creates fabric scraps of some sort. One of the biggest challenges is how to store and organize all these scrappy fabric leftovers as they accumulate. Some sewers keep only the larger pieces, while others choose to save even the tiniest piece. Everyone has their own system, but the challenge stays the same: how to keep the scraps in order and easily accessible.
What is a fabric scrap?
Every quilter has a different definition of what a fabric scrap is to them. I have found that what quilters consider to be “scraps” varies widely – the size of scraps worth saving runs the gamut. Some will save the tiniest pieces, while 5” squares are the cutoff for others.
One of the best pieces of advice I have been told was this: Don’t waste time worrying about your scraps. Think about it this way: if you’re spending more time agonizing over or organizing your scraps than you are quilting, that’s a problem. It’s okay to take time to establish a practice and get organized, but not to the point that it paralyzes you, sucks up all your time, or otherwise hinders your actual making.
Should you keep fabric scraps?
If you’re not interested in making scrappy quilts and don’t plan on using the scraps – DON’T KEEP THEM. Only save scraps the size that you think you’ll use. Holding onto super small scraps you won’t sew with will only clutter up your space! For larger pieces, if a piece is around a fat eighth (9″x21″), I usually keep it folded in my stash vs storing it with my scraps.

Here are my top 5 tips for getting started storing and sorting fabric scraps.
1. Decide if sorting by color or size will work best for you.
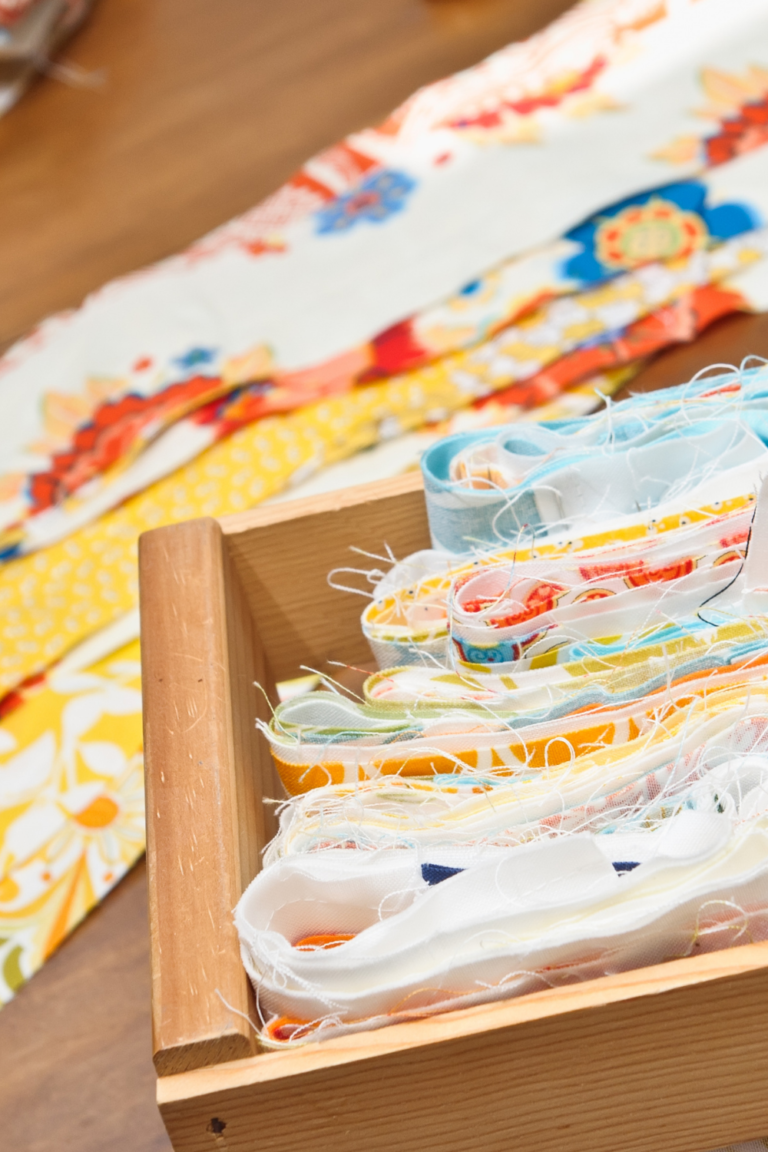
If you wish to sort by size, I’d recommend trimming scraps down to sizes that you will use. I personally cut mine down into 5” squares, 2.5” squares, 2.5” strips, and 1.5” squares. Anything smaller than a 1.5” square goes into the trash.
If you plan on sorting by color, think about what you’ll do when a certain color overflows. Will you make a project only in that color? Will you then trim it down to a certain size? Just some questions to think about for your scrap sorting system.
2. Figure out how much space you have for scrap storage.
I’m very blessed to have a large sewing studio with a lot of room for fabric and scrap storage. However, some people do not have that luxury. Do you have the space to store several clear bins full of scraps? Do you need to be able to keep them out of sight because you sew in a public area of your home? If you don’t have a lot of room to store scraps, make sure your system accounts for this and your storage solution can be helpful and not add clutter. One idea I you are in a small space is to use an over the door shoe holder but stuff the pockets full of scraps instead of shoes. If you have some space, stackable bins or even a toy organizer is great for keep scraps sorted and organized.
3. Ask yourself: will I handle scraps after every project or let them accumulate and then address them once they become a big pile?
When I began, I threw all scraps into a clear container I purchased from Walmart. Once it overflowed, I would cut the scraps down and manage the bin. My system has now evolved, and I try my best to get them sorted into their color bins after each project. This just helps my sewing studio not become cluttered and overwhelming. Again, you must figure out a scrap sorting and storing system that works for you.
4. Decide if you are saving for a specific project or just in general for future projects.
Personally, I know that I am always saving for future projects. But, if you know that you want to make a specific pattern in a scrappy version, keeping those scraps trimmed and organized makes it a lot easier to know when you have enough for that specific project.
5. Decide what the smallest size scrap you will keep is and stick to that.
It is very easy to keep all the scraps and cutoffs that you generate from projects. If you are someone who can make use of all of them and have space to store them, kudos to you. Just know if that isn’t you, you have full permission to not feel guilty about throwing scraps and cut offs away. I tend to keep all sizes until I am ready to sort through my color bins, but if its smaller than 1.5” square it goes into the trash bin.
Bonus tips:
- Remember, you’re allowed to shift and change your scrap organizational system. You don’t have to stick to one way forever.
- Storage doesn’t have to be complex and difficult. Using items you already have around your home or sewing space such as mason jars, over the shoe racks, or even just Ziplock baggies or tote bags can be your scrap storage and sorting system.
- IF you can’t sort by color, try sorting by warm, cool, and neutral fabrics. This keeps your “buckets” in an easy to manage group of three.
At the end of the day, the system for storing and organizing scraps must make sense you and be reasonable. I honestly started out by simply keeping 2 clear containers that I would toss scraps into as I worked on projects. Once they were both full of fabric scraps, I would spend time sorting and organizing and trimming down to usable sizes. Once that became too much, I evolved into my current color sorting system with a children’s toy organizer from Amazon.