Easy Scrappy & Patchwork 8″ Christmas Tree Quilt Block Pattern

How to Sew 8" Christmas Tree Quilt Blocks

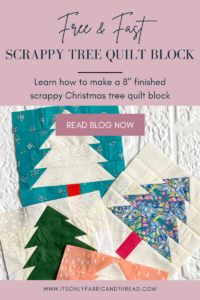
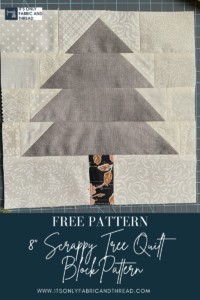
Use this 8″ Christmas Tree quilt block pattern to sew a forest of easy 8″ patchwork trees.

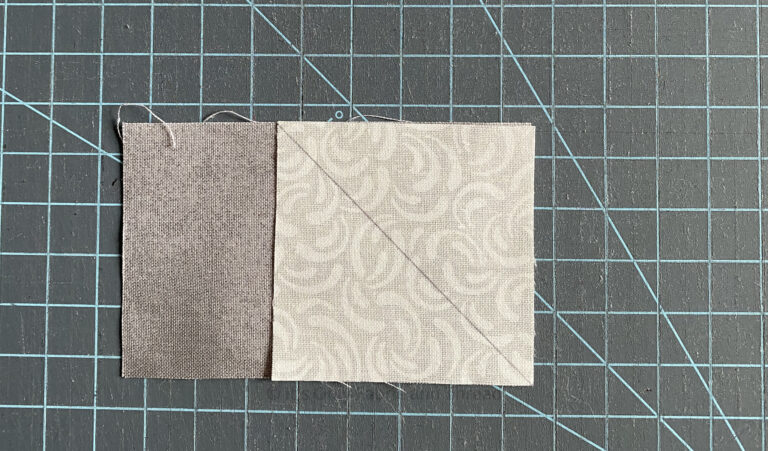
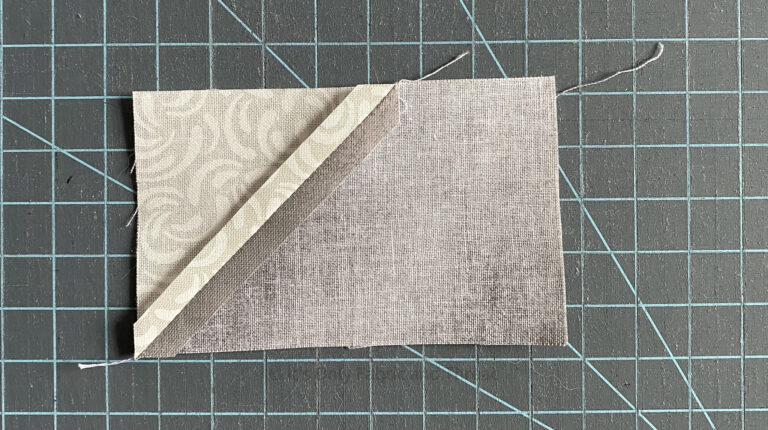
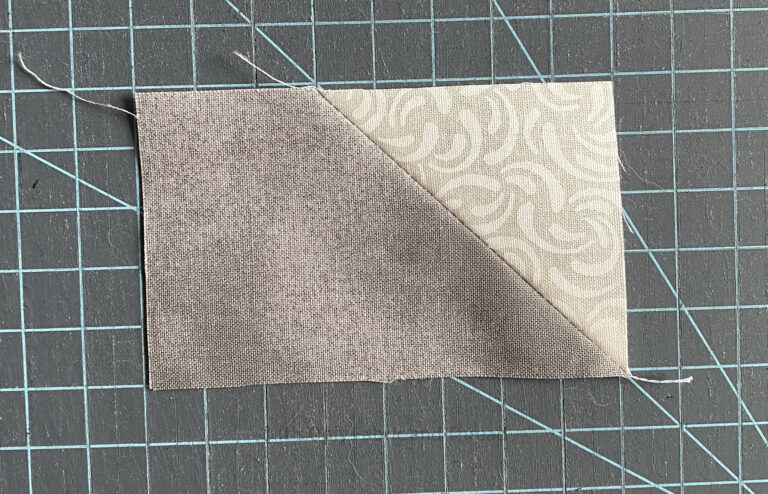
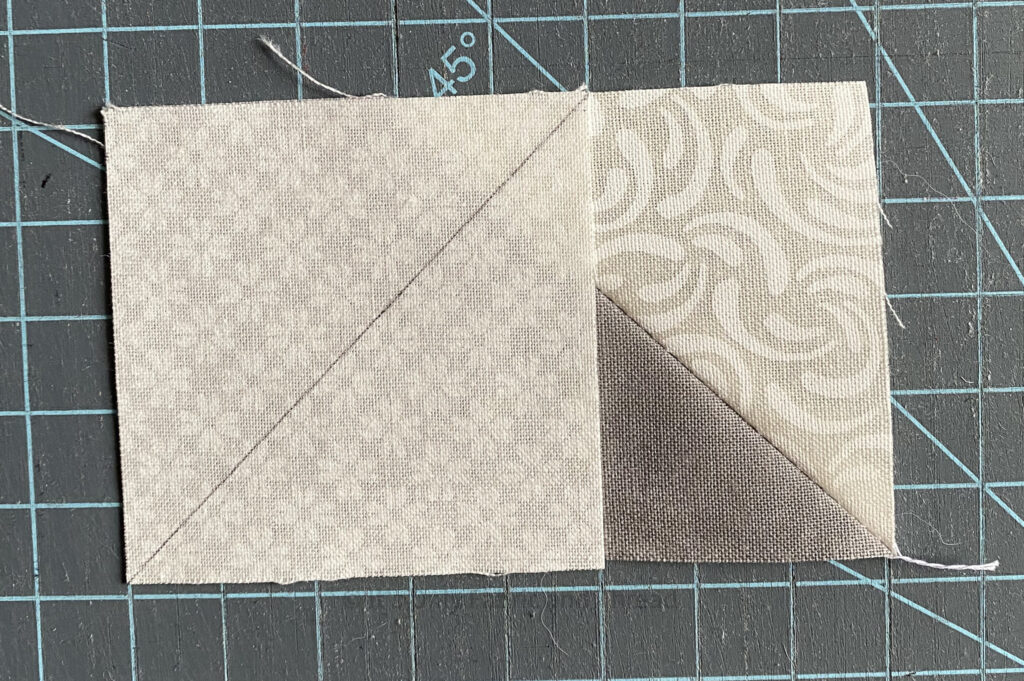
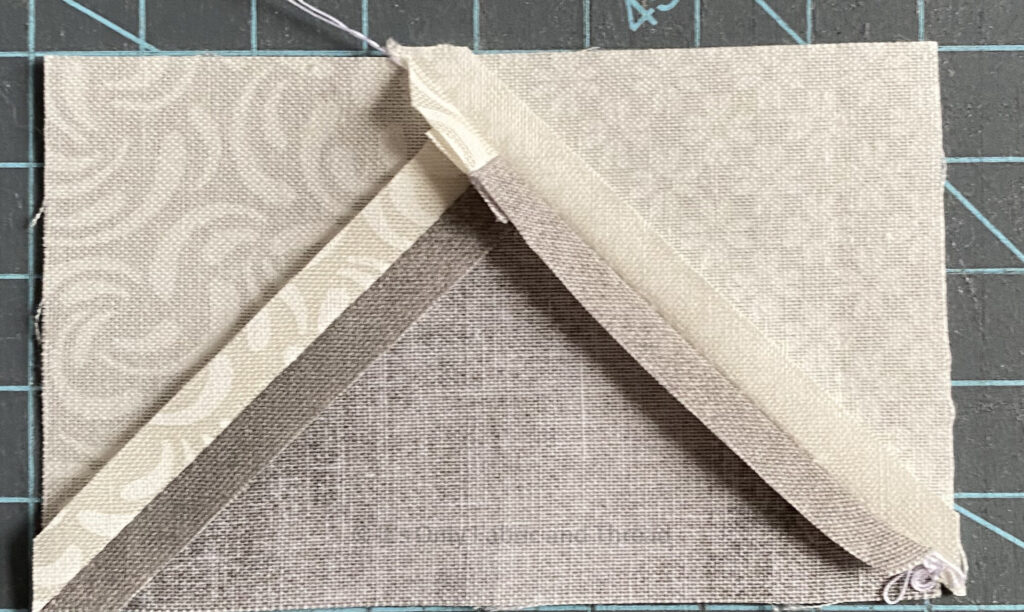
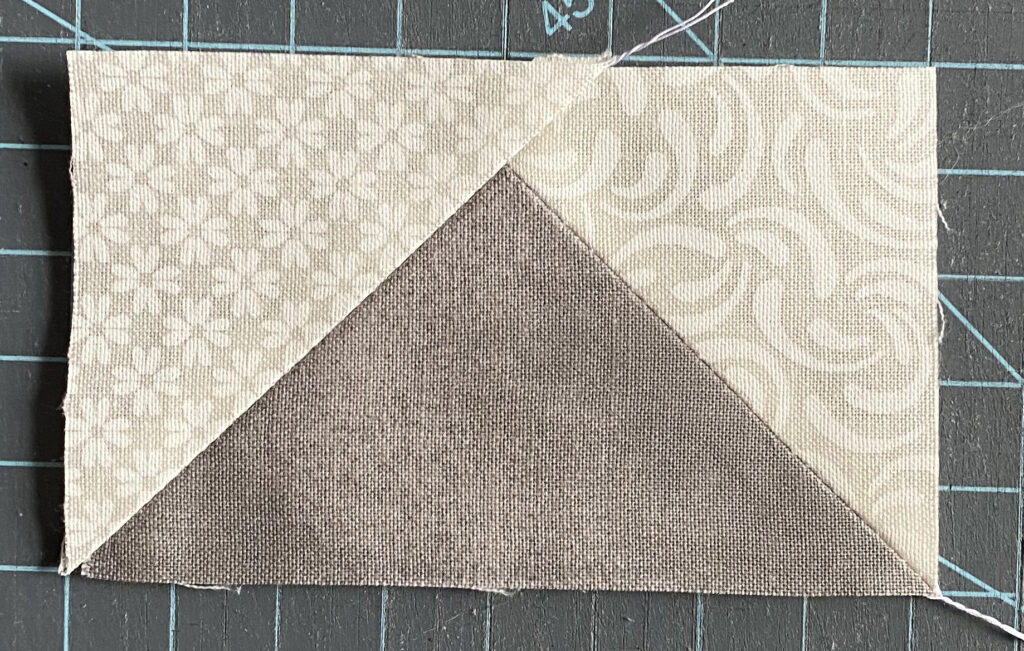
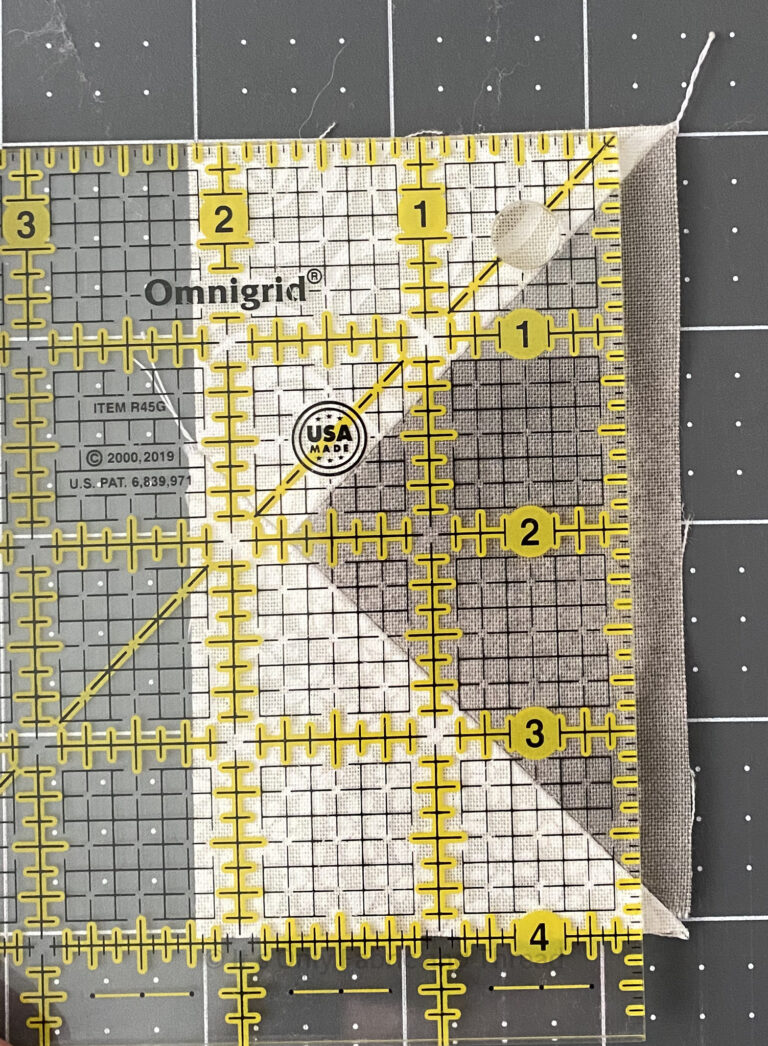
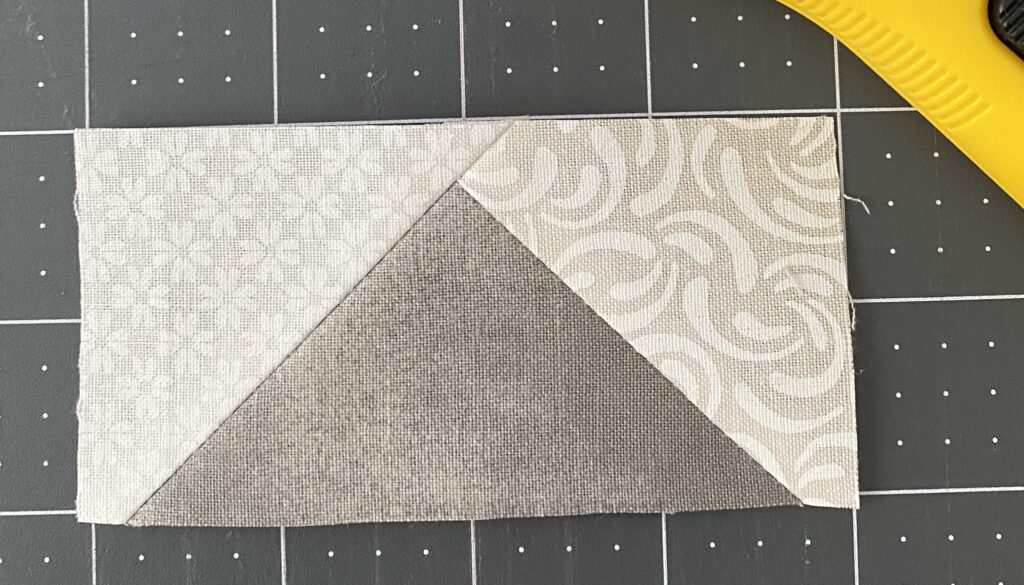
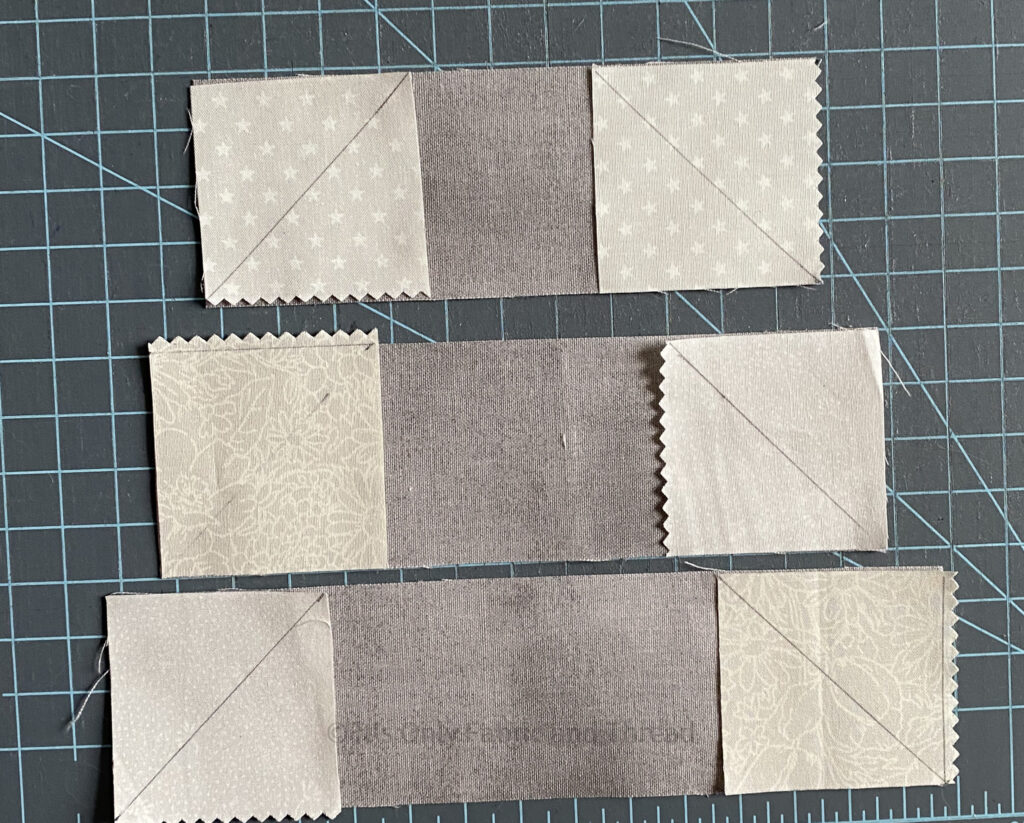
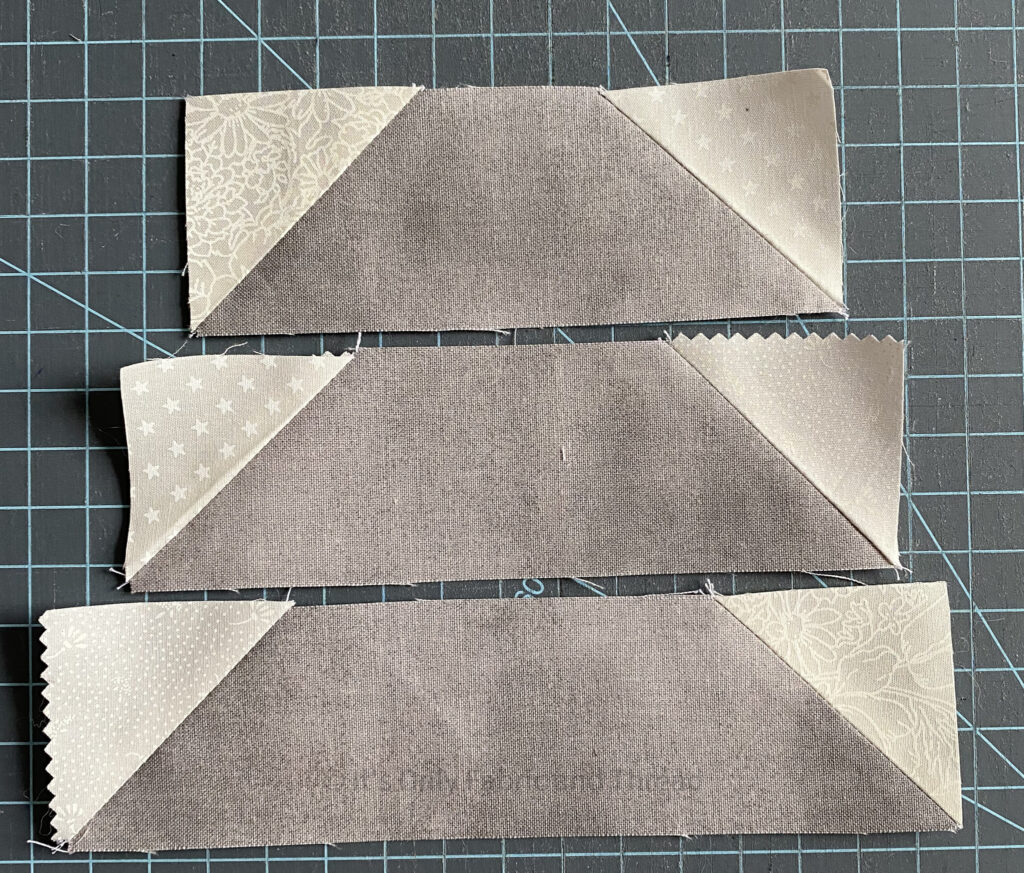
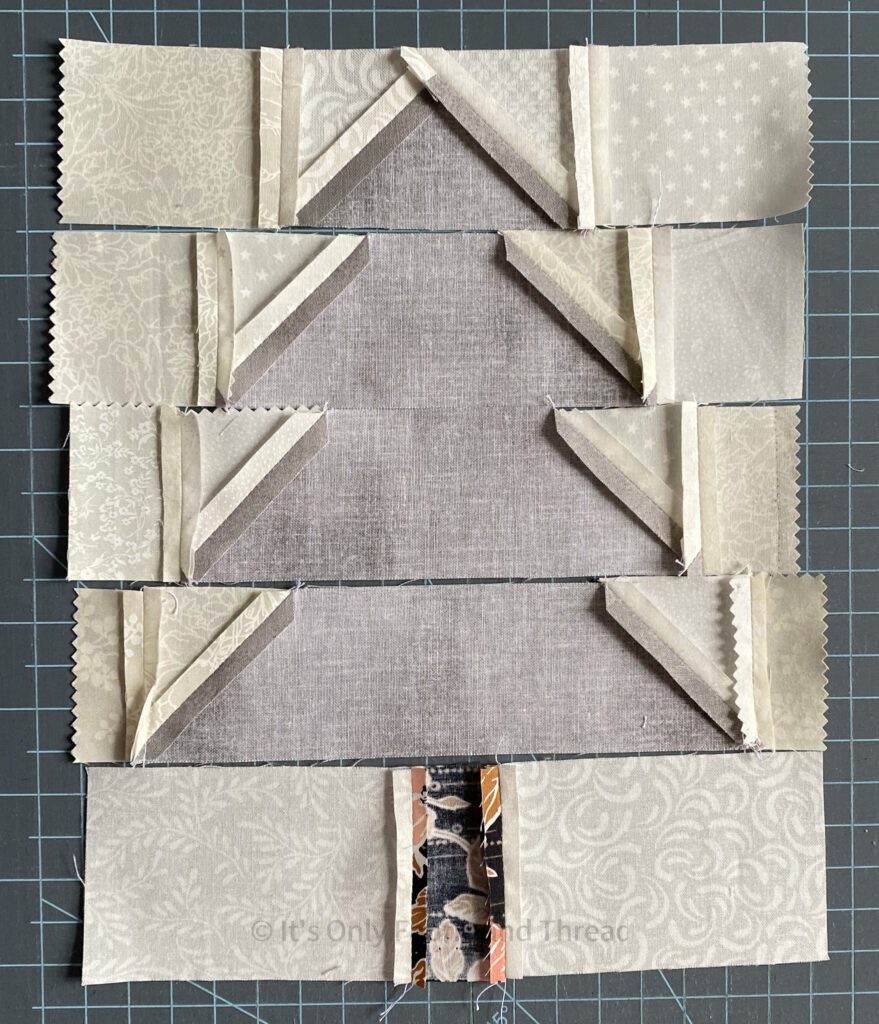
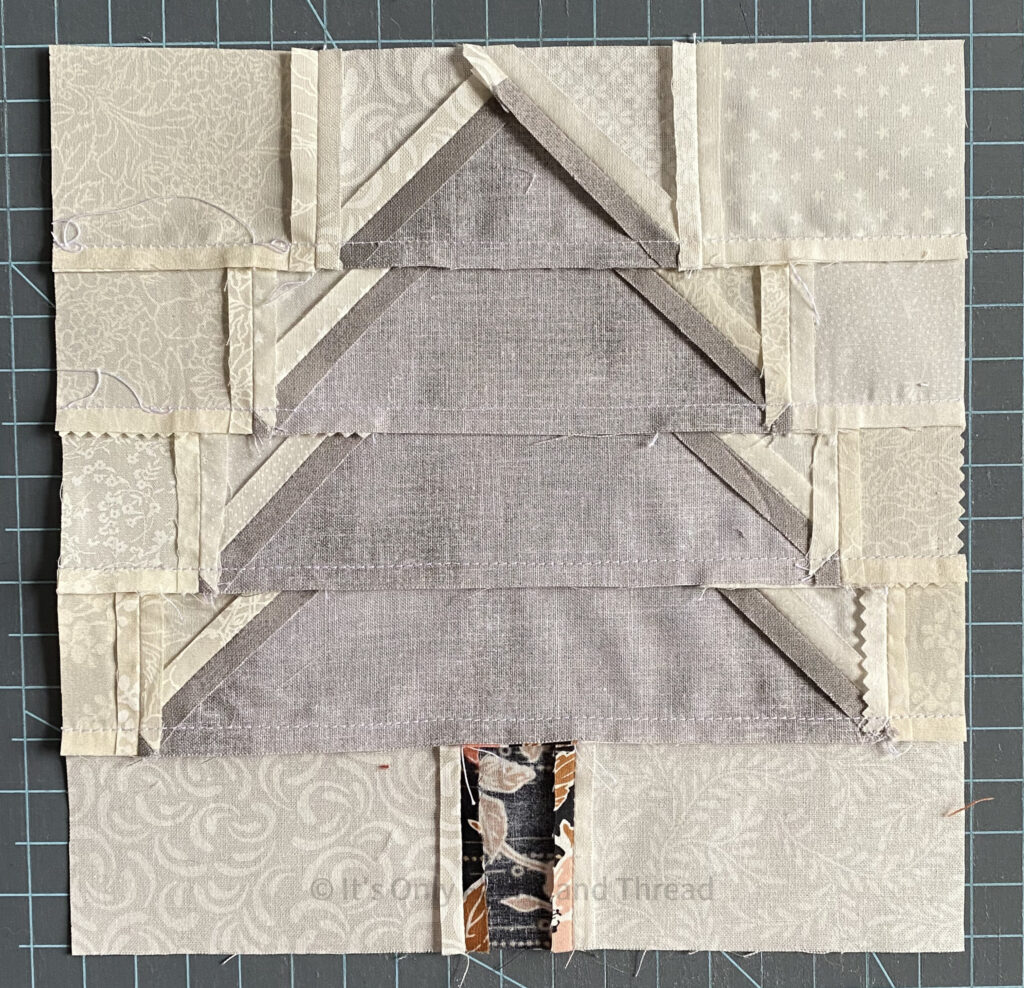
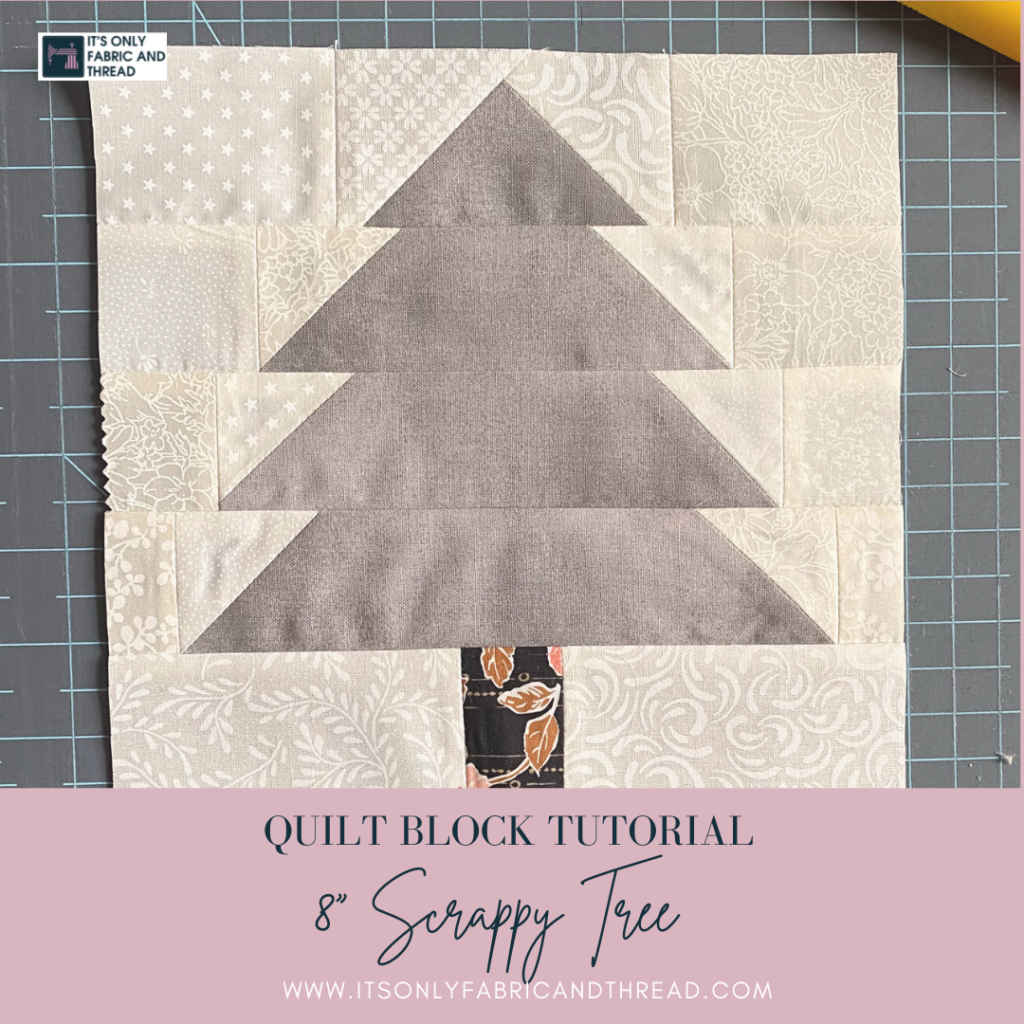
The angled ends of the tree branches are simple to sew using a snowballed quilt corner method, which I will walk you through below.

The tree is illustrated with a light background, but any colored fabric will work. Make your trees and background realistic or choose something entirely whimsical and scrappy!

The Christmas tree quilt block pattern is perfect for holiday projects, but don’t hesitate to use it for any type of quilt. You could even make a four seasons wall-hanging, sewing the tree and background for each block with fabrics that represent the shift of seasons.

Finished Block Size: 8" square

Fabric Requirements for (1) Scrappy Tree Quilt Block

Tree, Grey

  • (1)   2-1/2″ x 4″ strip
  • (1)   2″ x 5 1/2″ strip
  • (1)   2″ x 6 1/2″ strip
  • (1)   2″ x 7 1/2″ strip

Tree Trunk, Black

  • (1)   2 1/2″ x 1 1/2″ strip

Background, Neutral

  • (2)    2 1/2″ x 2 1/2″ squares
  • (8)   2″ x 2″ squares
  • (2)   2″ x 2 3/4″ strips
  • (2)   2” x 1 1/2″ strips
  • (2)   2” x 1” strips
  • (2)   2 1/2″ x 4″ strips

Assembling a Scrappy Tree Quilt Block

1. For the (2) 2 1/2″ Background squares and (6) 2″ Background squares, draw a diagonal guideline from corner to corner as shown below.

2. Gather (2) 2 1/2″ background squares and 2 1/2” x 4 1/2” strip. Align a square with the right end of the strip as shown in the below image, right sides of the fabrics together. Be sure to position the drawn line as shown.

3. Sew a seam directly on the drawn line. Press to set the seam (a good technique for all seams). Trim away the excess fabric, leaving about 1/4″ of both layers extending past the seam. Press the seam open as shown below.

6. Repeat to sew another square to the opposite end of the tree strip, positioning the line as shown. Trim and press open.

7. This unit should then be trimmed to 4” x 2”. Begin by placing your ruler on the unit as shown below, leaving a 1/4” seam allowance from the tip of the triangle. Trim off excess on the right side extending past the ruler.

8. Flip the block and align with the ruler again, this time as shown below. Trim off excess to the right of the ruler. 

Unit should measure 4” x 2”.

9. Gather your remaining Tree strips and (6) 2″ Background squares. Align the 2″ Background squares as shown below and then sew a seam directly on the drawn line. Trim away the excess fabric, leaving about 1/4″ of both layers extending past the seam. Press all seams open.

10. Gather the (2) 2 1/2″ x 4″ Background strips and the 2 1/2″ x 1 1/2″ Tree Trunk strip. Sew together as shown below. Press seams open.

11. Gather the remaining background pieces and layout your block as shown below.

Use a 1/4″ seam allowance to assemble the remaining portions of the Christmas Tree quilt block, placing units right sides together for sewing and matching raw edges carefully. Use straight pins to hold fabrics together to keep patches aligned.
12.  Sew the components of each Christmas Tree row together. Press seam allowances open.

13. Sew all five rows together, aligning strips carefully and pinning with straight pins to keep fabrics from shifting. Press all seams towards the bottom of the block.

The Christmas Tree quilt block should measure 8 1/2″ x 8 1/2″. If needed you can square up the block and trim off any excess fabric.

I can’t wait to see all the scrappy trees that you make using this tutorial! If you share your blocks on Instagram, be sure to use #iofatscrappytrees so I can see your blocks.

P.S. I have a fun pattern in the works that uses these trees so keep your eyes peeled for that pattern late next year.

Leave a Comment

Your email address will not be published. Required fields are marked *